


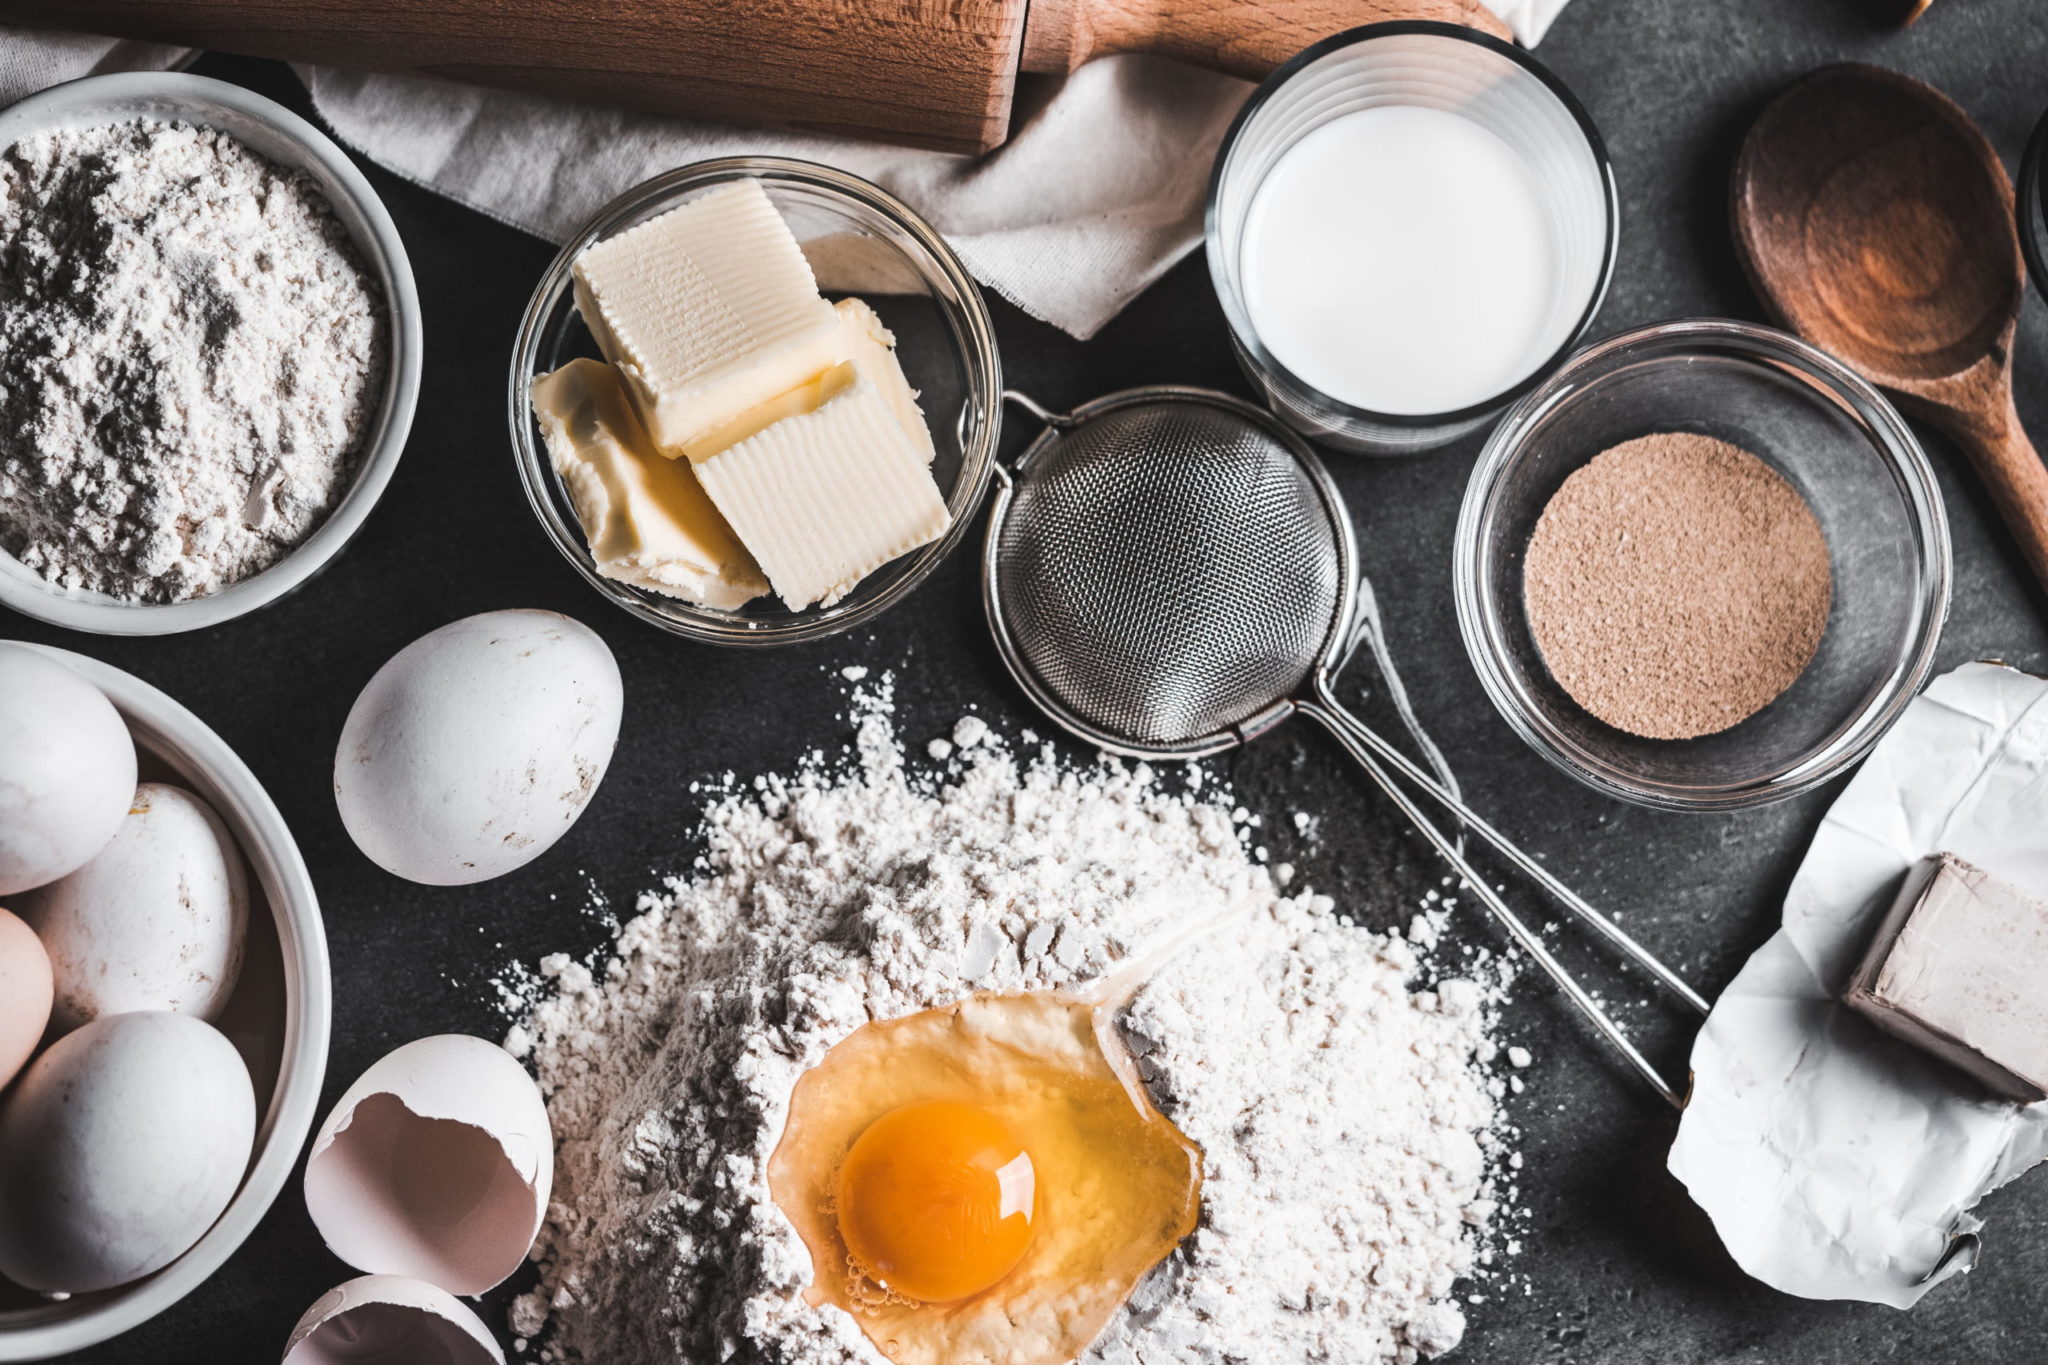
Cooking has taken on new significance as we shelter in place. As always, we turn to the kitchen for comfort, creativity and sustenance but now also with renewed gratitude for the people who grow, harvest, prepare and sell us our food. For this installment of Quarantine Culture, we asked esteemed chefs and cookbook authors from the Cal community to share with us some simple recipes for these times, when runs to the grocery store are kept few and far between and the pantry staples are calling our attention. Give thanks and bon appetit!
Continue your at-home education with our ongoing series, “Quarantine Culture,” featuring recommendations from the Cal community for what to watch, read, listen to, and cook during shelter in place.
Alice Waters
Editor’s Note: As Waters told California‘s Laura Smith in a recent interview, “I’m always relying on cooked greens, whether it’s kale or chard. Whatever kind of green, because it’s so affordable and all you need is garlic–and of course olive oil. But that’s something amazingly affordable. I’ve also been counting on beans, every color and shape of bean. And that’s something so easy to cook with herbs and garlic of course and some of those carrots and celery and onions, the basics of making an aromatic soup. It’s really great to have a pot of beans and a pot of greens.”
Of course, we asked for recipes.

Black-Eyed Peas
Start to finish: 14 hours, mostly unattended
Servings: 6
What to do:
Put the black-eyed peas in a bowl, cover with 3 quarts cold water, and refrigerate to soak overnight.
When you are ready to cook the peas, drain and pour them into a pot. Add the carrot, celery, onion, garlic, cumin, bay leaf, and salt and cover with 3 quarts cold water. Cook over high heat until boiling and then reduce the heat to a gentle simmer. Skim the foam that rises to surface of the water, and continue cooking for 1 to 11⁄2 hours, stirring occasionally, until the peas are completely soft and tender. The cooking time will vary depending on the age and quality of the black-eyed peas. Remove the aromatic vegetables before serving, and taste for salt and adjust if needed.
Collard Greens
Start to finish: 2 hours, mostly unattended
Servings: 6
What to do:
Strip the collard leaves from the tough stems and roughly chop the leaves. Wash in cold water and drain. Peel and cut the onion into 1⁄4-inch dice. Thinly slice the celery crosswise. Peel and finely chop the garlic.
Heat a heavy-bottomed soup pot over a medium heat and add the olive oil, onion, celery, garlic, bay leaf, salt, and 1 cup water. Cook, stirring occasionally, until the onions are soft, about 10 minutes. Add the tomato purée and paprika and cook for 5 minutes.
Add the collard greens to the pot with 2 quarts water and bring to a boil. Reduce the heat to a simmer and cook the collards for 1 to 11⁄2 hours until very tender. Stir occasionally and monitor the water level, if the greens start to get dry add small amounts of water as needed. Taste for seasoning and serve hot.

Millet Muffins
Start to finish: 30 minutes
Servings: 12
What to do:
Preheat the oven to 375°F. Grease a muffin tin with vegetable oil or line with paper muffin wrappers.
In a bowl, beat together the molasses, oil, egg, milk, and vinegar. In a separate bowl, mix all the remaining dry ingredients together. Use a rubber spatula to fold the wet ingredients into the dry ingredients until just combined. Take care not to overmix the batter.
Scoop the batter into the muffin tin, filling each cup up to the surface of the pan. Bake for 20 minutes or until a skewer inserted in the center of a muffin comes out clean. Transfer to a wire rack and cool to room temperature.
Restaurateur and food activist Alice Waters ‘’67 is the owner of Berkeley’s world-famous Chez Panisse Restaurant. She is the author of sixteen books including her memoir, Coming to My Senses: The Making of a Counterculture Cook, the bestselling cookbooks, The Art of Simple Food I & II, and The Edible Schoolyard: A Universal Idea.
Mark Bittman
This innovation—the word recipe does not do the technique justice—originally came from Jim Lahey, owner of Sullivan Street Bakery in New York City. Jim created a way for home cooks (and not only ones who are serious bakers) to nearly duplicate an artisan bakery loaf with a crackling crust, open-holed crumb, light texture, and fantastic flavor. All without kneading, fancy ingredients, or special equipment.
Since the method was first published in 2006, many people—including me—have tinkered with the formula. This is the original, simplest version. The only thing required is forethought. Ideally, you will start the dough about 24 hours before you plan to serve it. (If you want to know more about how the process works, see “The Science Behind No-Knead Bread,” page 787 and below). After all these years I still say with confidence the results will blow your mind.

Jim Lahey’s No-Knead Bread
Start to finish: About 24 hours, almost completely unattended
Yield: 1 large loaf
What to do:
Combine the flour, yeast, and salt in a large bowl. Add 2 cups water (it should be about 70°F) and stir until blended. You’ll have a shaggy, sticky dough; add a little more water if it seems dry. Cover the bowl with plastic wrap and let sit for about 18 hours at room temperature (a couple of hours less if your kitchen is warm; a couple more if it’s cool). The dough is ready when its surface is dotted with bubbles.
Lightly flour a work surface, transfer the dough to it, and fold once or twice; it will be soft but not terribly sticky once dusted with flour. Cover loosely with plastic wrap and let rest for about 15 minutes.
Using just enough flour to keep the dough from sticking, gently and quickly shape the dough into a ball. Generously coat a clean cotton kitchen towel (not terry cloth) with cornmeal, or use a silicone baking mat; put the dough seam side down on the towel and dust with more flour or cornmeal. Cover with another cotton towel or plastic wrap and let rise for about 2 hours. When it’s ready, the dough will be more than doubled in size and won’t spring back readily when poked with your finger.
After the dough has been rising for about 1 hour, put a 3-to 4-quart cast-iron, enamel, Pyrex, or ceramic pot, with its lid, in the oven and heat the oven to 450°F. When the dough is ready, carefully remove the pot from the oven, uncover it, and turn the dough over into the pot, seam side up. (Slide your hand under the towel and just turn the dough over into the pot; it’s messy, and it probably won’t fall in artfully, but it will straighten out as it bakes.) Cover with the lid and bake for 30 minutes. (If at any point the dough starts to smell scorched, lower the heat a bit.)
Remove the lid and bake for another 20 to 30 minutes, until the loaf is beautifully browned. The bread’s internal temperature should be about 200°F when you insert an instant-read thermometer. Remove the bread from the pot with a spatula or tongs and cool on a wire rack for at least 30 minutes before slicing.

The Science Behind No-Knead Bread
This bread puts time and moisture to work so you don’t have to. The dough uses very little yeast, but compensates for that by fermenting very slowly, giving the yeast time to multiply on its own schedule. This delivers a more complex flavor than using more yeast and fermenting faster. The dough is extremely wet, more than 40 percent water, at the extreme high end of the possible range.
You couldn’t knead this dough if you wanted to. The moisture content—combined with the long fermentation time—gives the gluten in the dough (see page 788 for more on that) an environment that lets it develop its distinctive elastic, weblike structure, which traps the carbon dioxide generated by the yeast as it feeds. The resulting crumb of the finished bread is well structured, with open holes.
By starting this very wet dough in a hot covered pot, you develop a crunchy yet chewy bakery-style crust, since the moist, enclosed environment of the pot is, in effect, the oven, and that oven has plenty of steam in it, which is necessary to create that kind of surface. Once uncovered, the crust hardens and browns and the bread is done. (And fear not: The dough does not stick to the pot, any more than it would to a heated bread stone.)
Mark Bittman is an author, food journalist and former columnist for The New York Times. In 2015 he came to UC Berkeley as a distinguished visiting fellow at the Berkeley Food Institute and also taught at the Berkeley Graduate School of Journalism. Bittman is the author of 14 books, including the bestselling How to Cook Everything.
Rosetta Costantino
This is a basic recipe that I have always prepared at home (my mom used to make this since I was a kid). A quick and delicious pasta dish that is perfect for these times as you can pull this sauce together with ingredients readily found in your pantry and easily prepare it while the pasta is cooking.

Spaghetti col Sugo di Tonno (Spaghetti with Tuna, Garlic, Parsley)
Calabrians always have canned tuna in the pantry for quick pasta sauces like this one. In summer, you could add some chopped fresh tomato or halved cherry tomatoes. You can also add a couple of tablespoons of capers. In the restaurants on the Calabrian coast, they often make the same sauce with fresh tuna.
Start to finish: 30 minutes
Servings: 4 to 6
What to do:
Pour the olive oil from the canned tuna into a measuring cup and add enough extra virgin olive oil, if necessary, to make 6 tablespoons.
Put the olive oil in a large skillet and warm over moderate heat. Add the onion and garlic and sauté until the onion is translucent, about 5 minutes. Add the anchovies and stir until they melt into the oil. Add the tuna and break it up with a wooden spoon. Cook briefly just to infuse the tuna with the other flavors. Add ground hot pepper if desired and taste for salt. It may not need any. Stir in the parsley.
Bring a large pot of well-salted water to a boil over high heat. Add the pasta and cook until al dente. Set aside 1 cup of the pasta water, then drain the pasta and return it to the warm pot. Add the sauce and toss well, moistening with the reserved pasta water if needed. If you happen to have some tuna bottarga in your pantry, grate a generous amount of bottarga on top of the pasta and serve immediately.
Copyright 2006, Rosetta Costantino. All rights reserved.
Oakland-based Rosetta Costantino ‘82, is a former chemical engineer turned cooking instructor and food author. Her cookbooks include My Calabria, which explores the rustic cuisine of the region in Italy where she was born and lived with her family until age 14.
Alice Medrich
A few days before the official shelter-in-place, I braved Berkeley’s crowded-but-beloved Monterey Market for stay-at-home provisions including ingredients for comfort foods that could live in my freezer until cravings hit or the pantry looked bare. I made quarts of posole verde with Rancho Gordo hominy. I made Joann Chang’s Hot and Sour Soup with cloud ears instead of button mushrooms.
I also made my version of kimchi stew (below) with skinless chicken thighs cooked on the bone and not-at-all-dainty chunks of root vegetables, and mushrooms or other vegetables that I might have. I don’t fuss with sweating or sautéing any of the vegetables to start with—everything goes into the pot with minimal fuss. Sometimes I add greens, like collards, mustard, or chard. It’s like the chicken in a pot that I grew up with—only with a whole lot of spicy kimchi and red peppers!

I’d been making this improvised dish for a while before saw the kimchi soup in David Tanis’ book, Market Cooking. Inspired by David, I replaced the red pepper flakes and/or Siracha that I had been using for heat, with Korean crushed red peppers (gochuru) and added some fish sauce and toasted sesame oil into the mix. Now I even let the chicken marinate in the spicy ginger garlic mixture for a few minutes—unless I don’t feel like it. I keep my chicken thighs and permissive use of vegetables instead of his pork belly … and I reheat leftover soup and vegetables with tofu for a second night of feasting.
Chicken Kimchi Stew
Start to finish: 1 hour, 15 minutes
Servings: 6
Makes 6 generous servings with benefits: leftover soup and vegetables which can be reheated another day with chunks of tofu to replace the chicken. As for the vegetables, don’t worry if you don’t have all or any of them (or maybe you have greens or something else to add) and don’t worry about exact quantities.
What to do:
Note: Feel free to start with less red pepper—you can taste and adjust later.
Put the chicken thighs in a large soup pot with the ginger, garlic, soy sauce, fish sauce, sesame oil, and gochugaru. Stir to coat the chicken, dump the onion on top and let the chicken marinate for a few minutes—unless you don’t feel like it.
Add the water and kimchi, including juice, to the pot. Bring to a simmer and simmer uncovered for 45 minutes. Add root vegetables and simmer for 10 minutes. Add the mushroom and simmer for another 10 minutes, by which time the chicken should be very tender. Taste the soup and correct the seasoning. Serve topped with slivered scallions.

Chocolate Pudding Now
Sometimes chocolate pudding is just what’s needed. This recipe is as easy as it gets with results infinitely better than anything made from a box. I have fancier recipes that call for fancier chocolate, but this one does the job impressively (and immediately), with three ingredients you probably have on hand.
Start to finish: 10 minutes
Servings: 6
What to do:
*I’m compelled to say that quality always matters, even when it comes to a seemingly generic ingredient like chocolate chips. The better the chips the better the pudding! The best chocolate chips I’ve ever tasted are made by the Guittard Chocolate Company—Guittard is also local, family owned, and 150 years old, just like Cal.
Have a timer, heatproof spatula, and the cups near the stove.
Put all of the ingredients in a medium saucepan. Cook over medium heat, whisking constantly and scraping the bottom, sides, and corners of the pan, until the chocolate chips are melted and the first simmer bubbles appear around the edge.
Simmer gently for 2 minutes, whisking and scraping the pan continuously as the pudding thickens, and adjust the heat as necessary to prevent it from boiling furiously.
Use the spatula to scrape pudding into cups immediately. Serve warm, or at room temperature, or cold (my favorite). Cool puddings completely before covering and refrigerating. I love the skin on my pudding, so I cover the cups without letting the wrap actually touch the pudding. If you can’t abide skin on your pudding, simply press the plastic wrap against the surface of each pudding before you chill them. No judgment here!
Recipe by Alice Medrich. Originally published in Rage Baking: The Transformative Power of Flour, Fury, and Women’s Voices by Kathy Gunst and Katherine Alford (Simon and Schuster, 2020).
Alice Medrich ‘71 has been called the First Lady of Chocolate based in part on the legacy of her Berkeley shop, Cocolat, which she ran for 14 years. She is also credited with introducing Americans to the chocolate truffle. Medrich is the author of several acclaimed cookbooks and the memoir, Bittersweet: Recipes and Tales from a Life in Chocolate.